

Introduction
Cracks in walls are a common issue in both residential and commercial buildings. Whether caused by settling, moisture, or structural stress, these cracks can compromise aesthetics and even weaken walls over time. Fortunately, fiberglass mesh tape is one of the most effective solutions for reinforcing drywall, plaster, and stucco to prevent cracks from reappearing.
This comprehensive guide will cover:
✔ What fiberglass mesh tape is and how it works
✔ Step-by-step installation instructions
✔ Common mistakes to avoid
✔ Best practices for long-lasting repairs
✔ Top product recommendations
By the end, you’ll know exactly how to use fiberglass mesh tape to achieve smooth, crack-free walls like a professional.
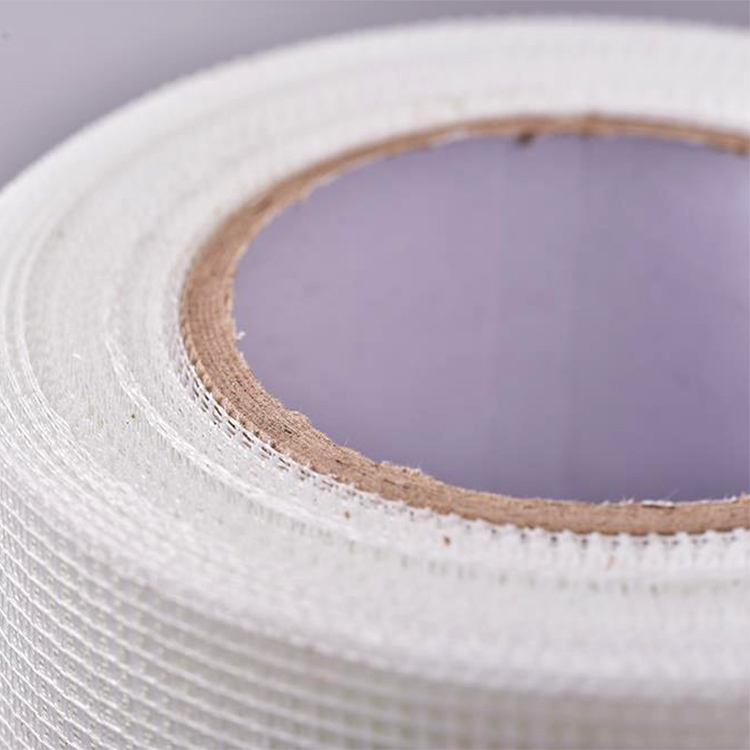
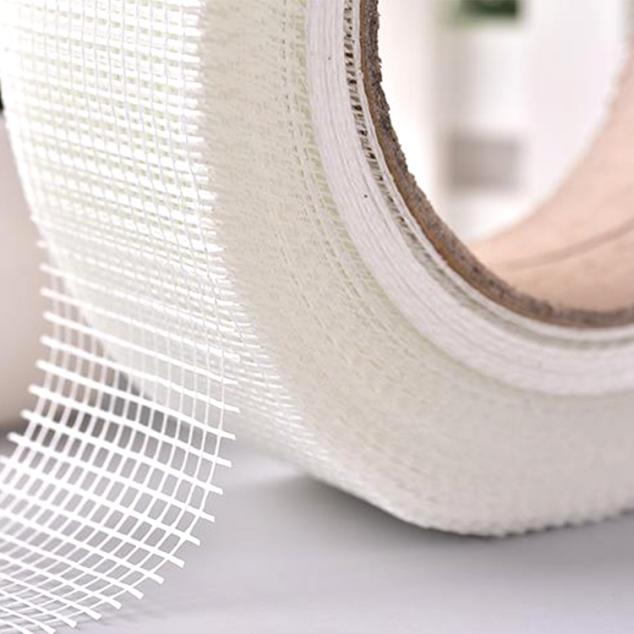
What Is Fiberglass Mesh Tape?
Fiberglass mesh tape is a self-adhesive or non-adhesive reinforcing material made from woven fiberglass strands. It is primarily used in drywall and plastering to:
- Strengthen joints between drywall panels
- Prevent cracks from reappearing
- Improve durability in high-stress areas (corners, ceilings)
- Provide a smooth surface for finishing
Unlike traditional paper tape, fiberglass mesh tape is mold-resistant, tear-resistant, and easier to apply, making it a favorite among DIYers and professionals alike.
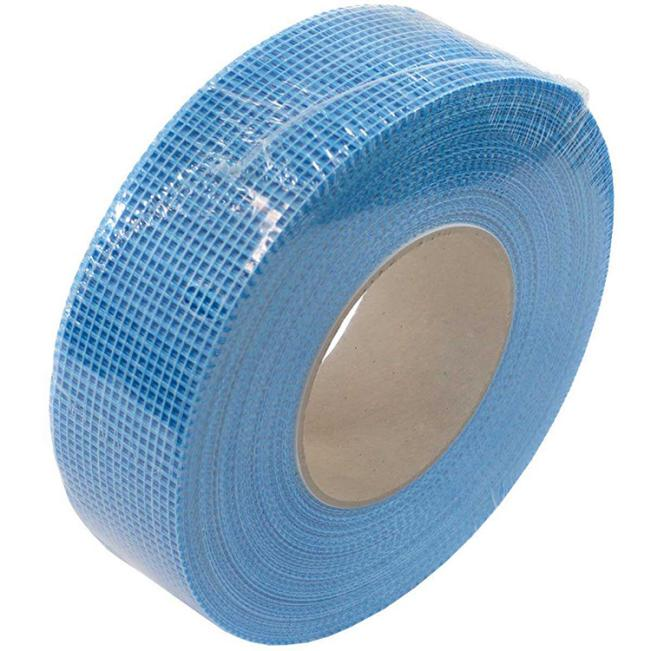
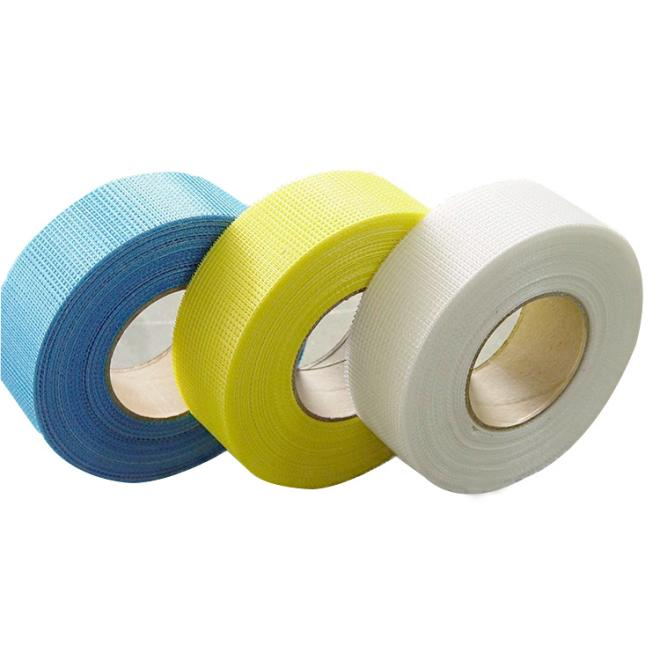
Types of Fiberglass Mesh Tape
1. Self-Adhesive Mesh Tape – Comes with a sticky backing for quick application.
2. Non-Adhesive Mesh Tape – Requires joint compound or adhesive for installation.
3. Heavy-Duty Mesh Tape – Thicker and stronger for structural repairs.
4. Waterproof Mesh Tape – Ideal for bathrooms and exterior stucco work.
Step-by-Step Guide: How to Apply Fiberglass Mesh Tape
Tools & Materials Needed
- Joint compound (drywall mud)
- Drywall knife (6-inch and 12-inch)
- Sanding sponge or sandpaper (120-grit)
- Utility knife
- Primer & paint (for finishing)
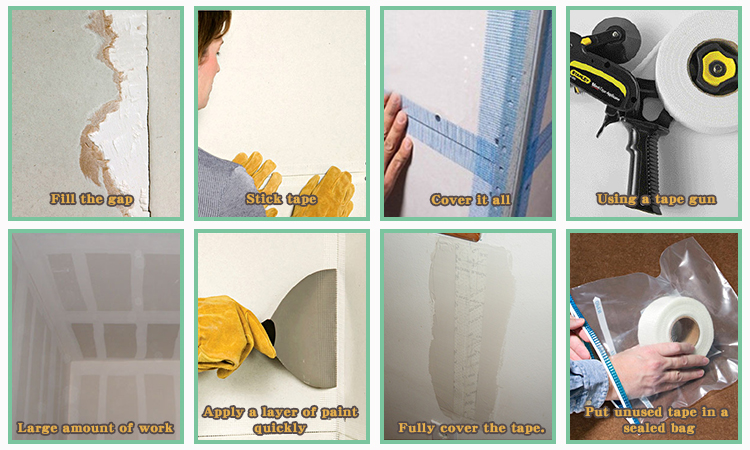
Step 1: Prepare the Surface
- Clean the area, removing dust, loose debris, and old tape.
- For deep cracks, widen them slightly (1/8 inch) to allow better mud penetration.
Step 2: Apply the Fiberglass Mesh Tape
- For self-adhesive tape: Press firmly over the crack or drywall joint, smoothing out bubbles.
- For non-adhesive tape: Apply a thin layer of joint compound first, then embed the tape.
Step 3: Cover with Joint Compound
- Use a 6-inch knife to spread a thin layer of mud over the tape.
- Feather the edges to blend with the wall.
- Let it dry completely (usually 24 hours).
Step 4: Sand and Apply a Second Coat
- Lightly sand the dried mud with 120-grit sandpaper.
- Apply a second, wider coat (using a 12-inch knife) for a seamless finish.
Step 5: Final Sanding & Painting
- Sand again for a smooth surface.
- Prime and paint to match the surrounding wall.
---
Common Mistakes to Avoid
❌ Skipping the second coat – This leads to visible seams.
❌ Using too much mud – Causes bulging and longer drying times.
❌ Not embedding the tape properly – Creates air bubbles and weak spots.
❌ Sanding too aggressively – Can expose the tape, requiring rework.
Conclusion
Fiberglass mesh tape is a must-have for durable, crack-free walls. Whether you’re repairing drywall, plaster, or stucco, following the right techniques ensures a long-lasting, professional finish.
Ready to start your repair project? Grab high-quality fiberglass mesh tape and achieve flawless walls today!
FAQ Section
Q: Can fiberglass mesh tape be used on plaster walls?
A: Yes! It works well for both drywall and plaster cracks.
Q: How long does fiberglass mesh tape last?
A: When properly installed, it can last decades without cracking.
Q: Is fiberglass mesh tape better than paper tape?
A: It’s stronger and easier to apply, but paper tape is better for inside corners.
Q: Can I paint over fiberglass mesh tape?
A: Yes, after applying joint compound and primer.
Post time: Jun-23-2025


